
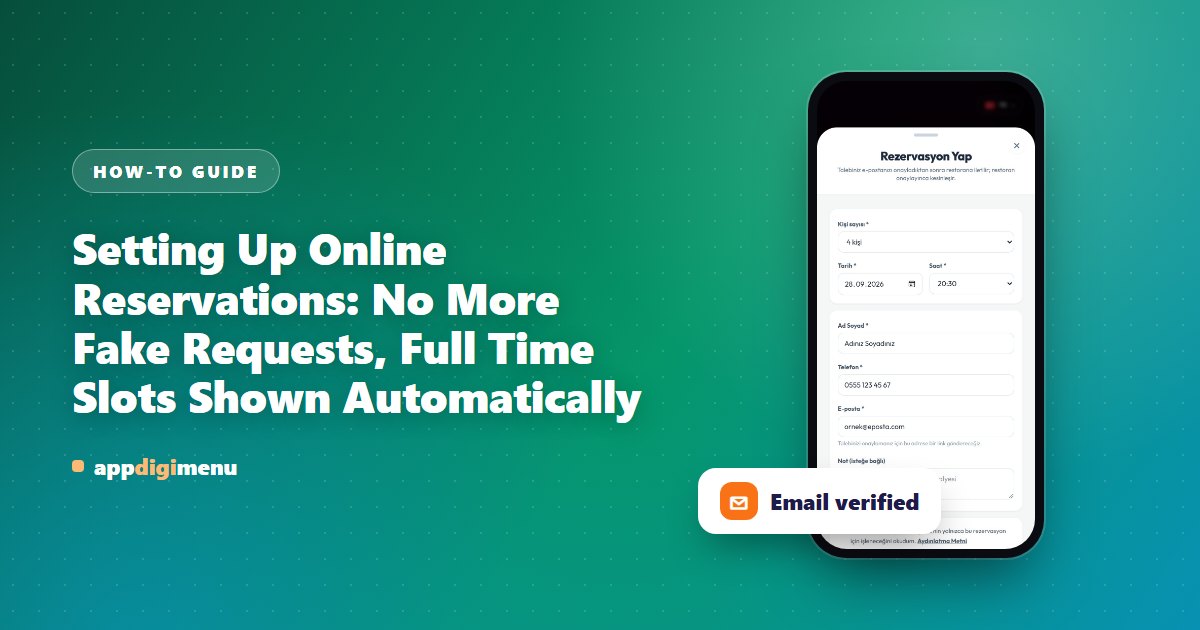
Phone bookings get missed at busy times, and fake or forgotten bookings mean empty tables. With online reservations the guest sends the request from the QR menu, and you confirm and track occupancy on one screen.
Setup
- Turn on Online Reservations. In Restaurant Settings, switch on "Online Reservation". Guests send a request from the menu without signing up; it reaches the Reservations page only after they click the link in their email, and it is not final until you confirm it.
- Set your capacity. Enter how many tables are open to online booking under "Tables open to online reservation". For example, with 20 tables and a value of 15, once 15 confirmed bookings exist for the same time that slot shows as "Full" on the menu, leaving 5 tables for walk-ins.
- Set duration and limit. "Table usage time" sets how long a booking holds a table, and "Maximum guests per reservation" sets the party limit. New requests are sent to the "New request notification email".
- Confirm automatically if you like. With "Auto-confirm if available" on, once the guest verifies their email and a table is free at that time, the booking is confirmed automatically, assigned to a free table and a confirmation email is sent. If no table is free, the request waits for you.
Protection against fake requests
- Email verification: A request never reaches you until the link is clicked.
- Table QR requirement: With "Table QR Requirement for Reservations" on, the reservation button only appears on the menu opened by scanning a table's QR code, so guests already in the venue book their next visit.
During service
- With "Waiter Reservation Actions" on, waiters see today's confirmed bookings on their own screen and mark them "Arrived", "No-show" or "Cancel". Confirming and rejecting requests is still done from the panel.
- With "Reservations via Assistant Chat" on, the menu assistant Digi takes bookings by asking for party size, day and time in the chat.
- The occupancy screen and heat map on the Reservations page show your busiest hours.
To send reservation emails from your own address, enter your email account details on the Email (SMTP) page in the panel.